
4 hours in Arches National Park
National Parks are the gems of America. They are uniquely American. There really aren’t other places in the world where huge swaths of the natural landscape are preserved for tourists to enjoy in an accessible way. The idea of preserving these amazing natural wonders is part of the conservative mindset that many Americans have when it comes to land. Founded in 1929, Arches National Park boasts over 2,000 arches and acres of unique rock formations, fins, and soaring pinnacles. You’ll be in awe as you drive through!
One of our goals when in Moab, Utah was to hit up Arches National Park. The problem then became, what do we want to see? There are so many different things you can do in the park! Between miles of hikes and dozens of overlooks and “hotspots,” you can make your trip to Arches almost anything you want to. We decided to go after 4 pm to avoid an additional timed pass entrance fee and the sun would set around 8 pm. So we only had 4 hours of daylight to see as much of the park as we could. After doing a little bit of research, our choice came down to just seeing Delicate Arch or seeing more landmarks that were quicker to access.
Besides Delicate Arch which is THE landmark of Arches National Park, I had no clue what else there was to see. My brother had been to the park before and done the Delicate Arch hike. We talked extensively about doing it but after looking into the hike more, we decided it might not be a good idea for sore and tired legs from mountain biking the day before. The hike to Delicate Arch is 3 miles round trip and is estimated to take 2-3 hours. It’s one of the more strenuous hikes in Arches National Park. With that hike taken off the list, we decided to go for seeing more things with the time we had. We made our hit list and entered the park!
Balanced Rock. This is such an easy hike and stop to see! You can walk around the entire feature too. Easily identifiable while driving, this huge rock formation is called “Balanced Rock” because the foundation under the large rock is eroding faster than the top, so eventually, it will crumble. Definitely worth a quick look and photo op!

Balanced Rock with the La Sal Mountains behind. View from the parking lot I believe.

Balanced Rock from the backside. It’s very cool and a quick walk to go around the whole thing.
Double Arch. I think this is a must-stop! These are the tallest arches in the park and are incredible to hike around! It’s a short walk from the parking lot and you can hike up into these arches! It’s hard to describe just how massive they are until you’re next to them. This is a very popular spot, so just know you’ll encounter people! We were fortunate that during our time around the park, there weren’t too many people because of the time of day and season.

Approaching Double Arch.

So hard to capture the grandeur of these arches, but this is looking up into them.

View looking out from Double Arch.
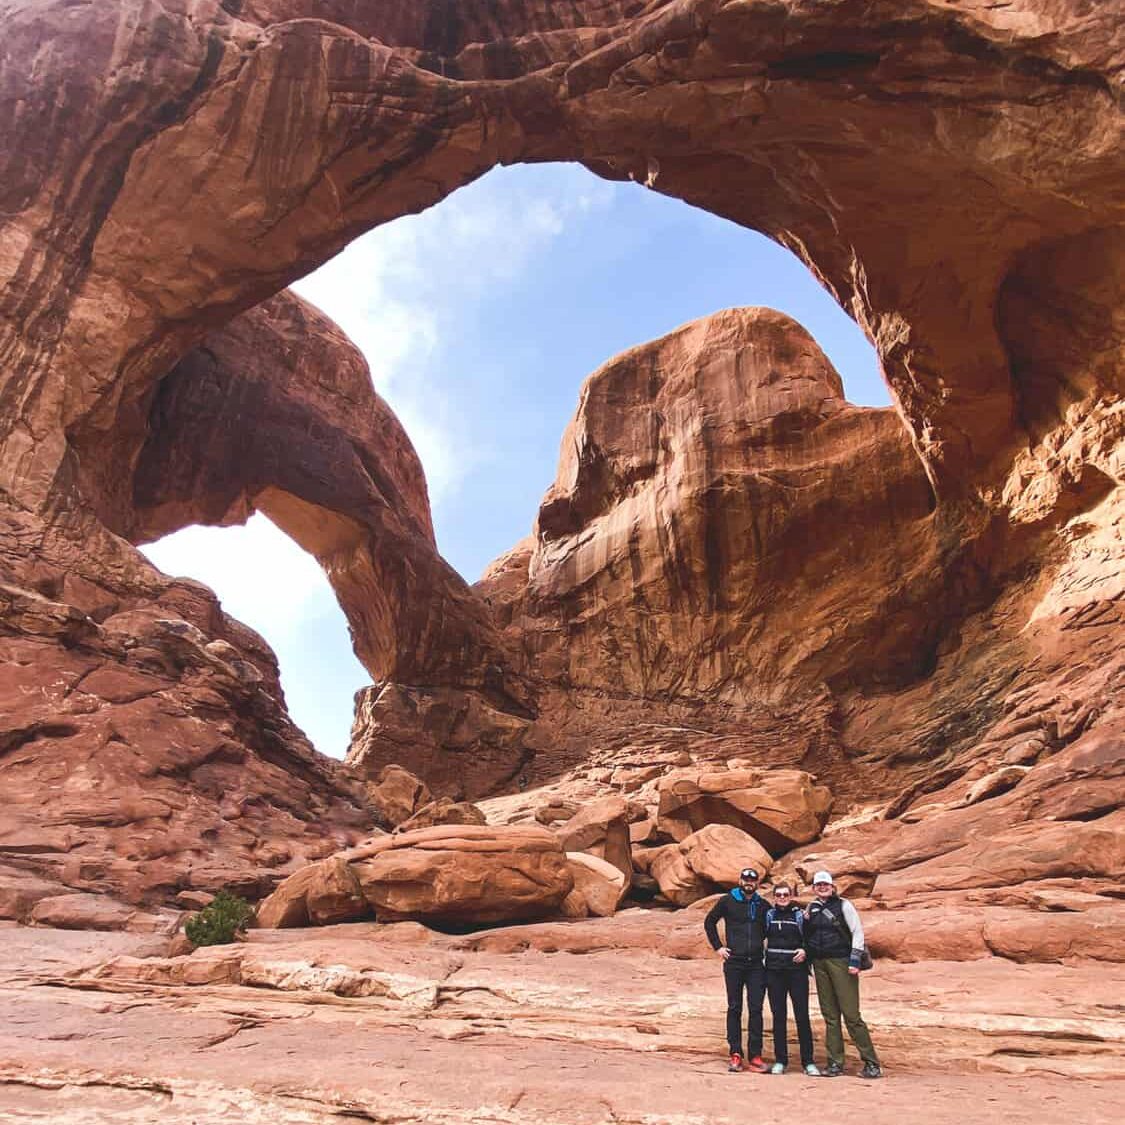
North and South Window Arches. From the same parking lot as Double Arch, you can hike on over to the Window Arches. These are two arches that just look like they were punched out of the rock face. The North Window is accessible by trail, but the South one is not. This arch is super fun to explore and as a photographer, if you do it just right, you can take a photo of Turret Arch through the North Window. (I didn’t get this shot because I didn’t feel like doing the hike to the point where you’d be able to see it.)

Both North and South Windows. They look like they’re just punched out of stone.

North Window, which we hiked up to.
Turret Arch. Accessible from the same parking lot, it’s just across from the Window Arches. This arch is quite a bit smaller, but a fun one to see while your close by. Be sure to hike up to viewpoint between the arches to get a cool look at the La Sal mountains!

Turret Arch viewing from North Window Arch.
-
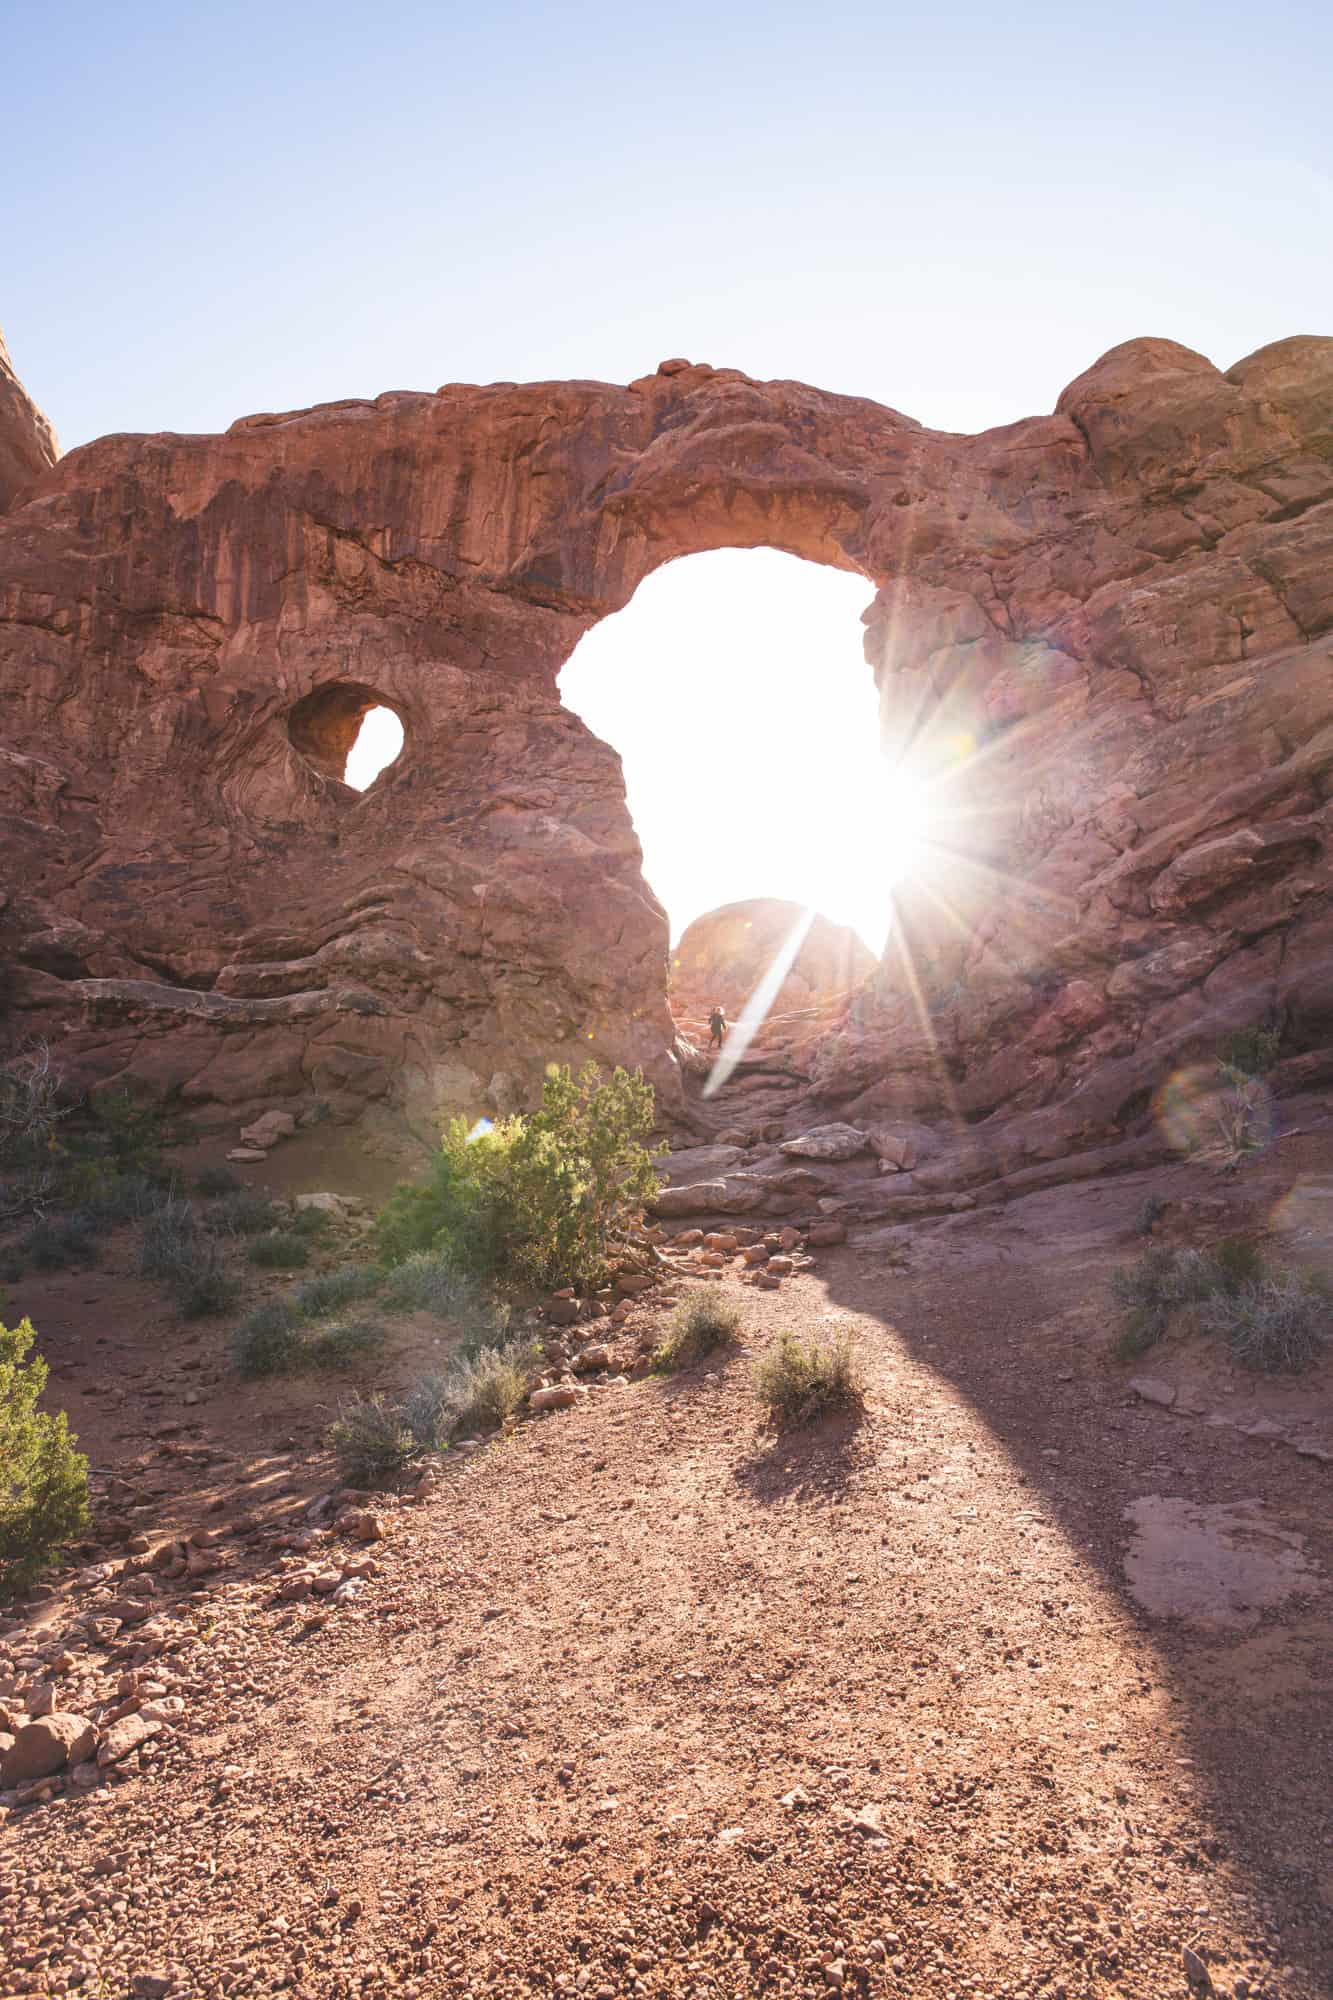
- Close up on Turret Arch.
-
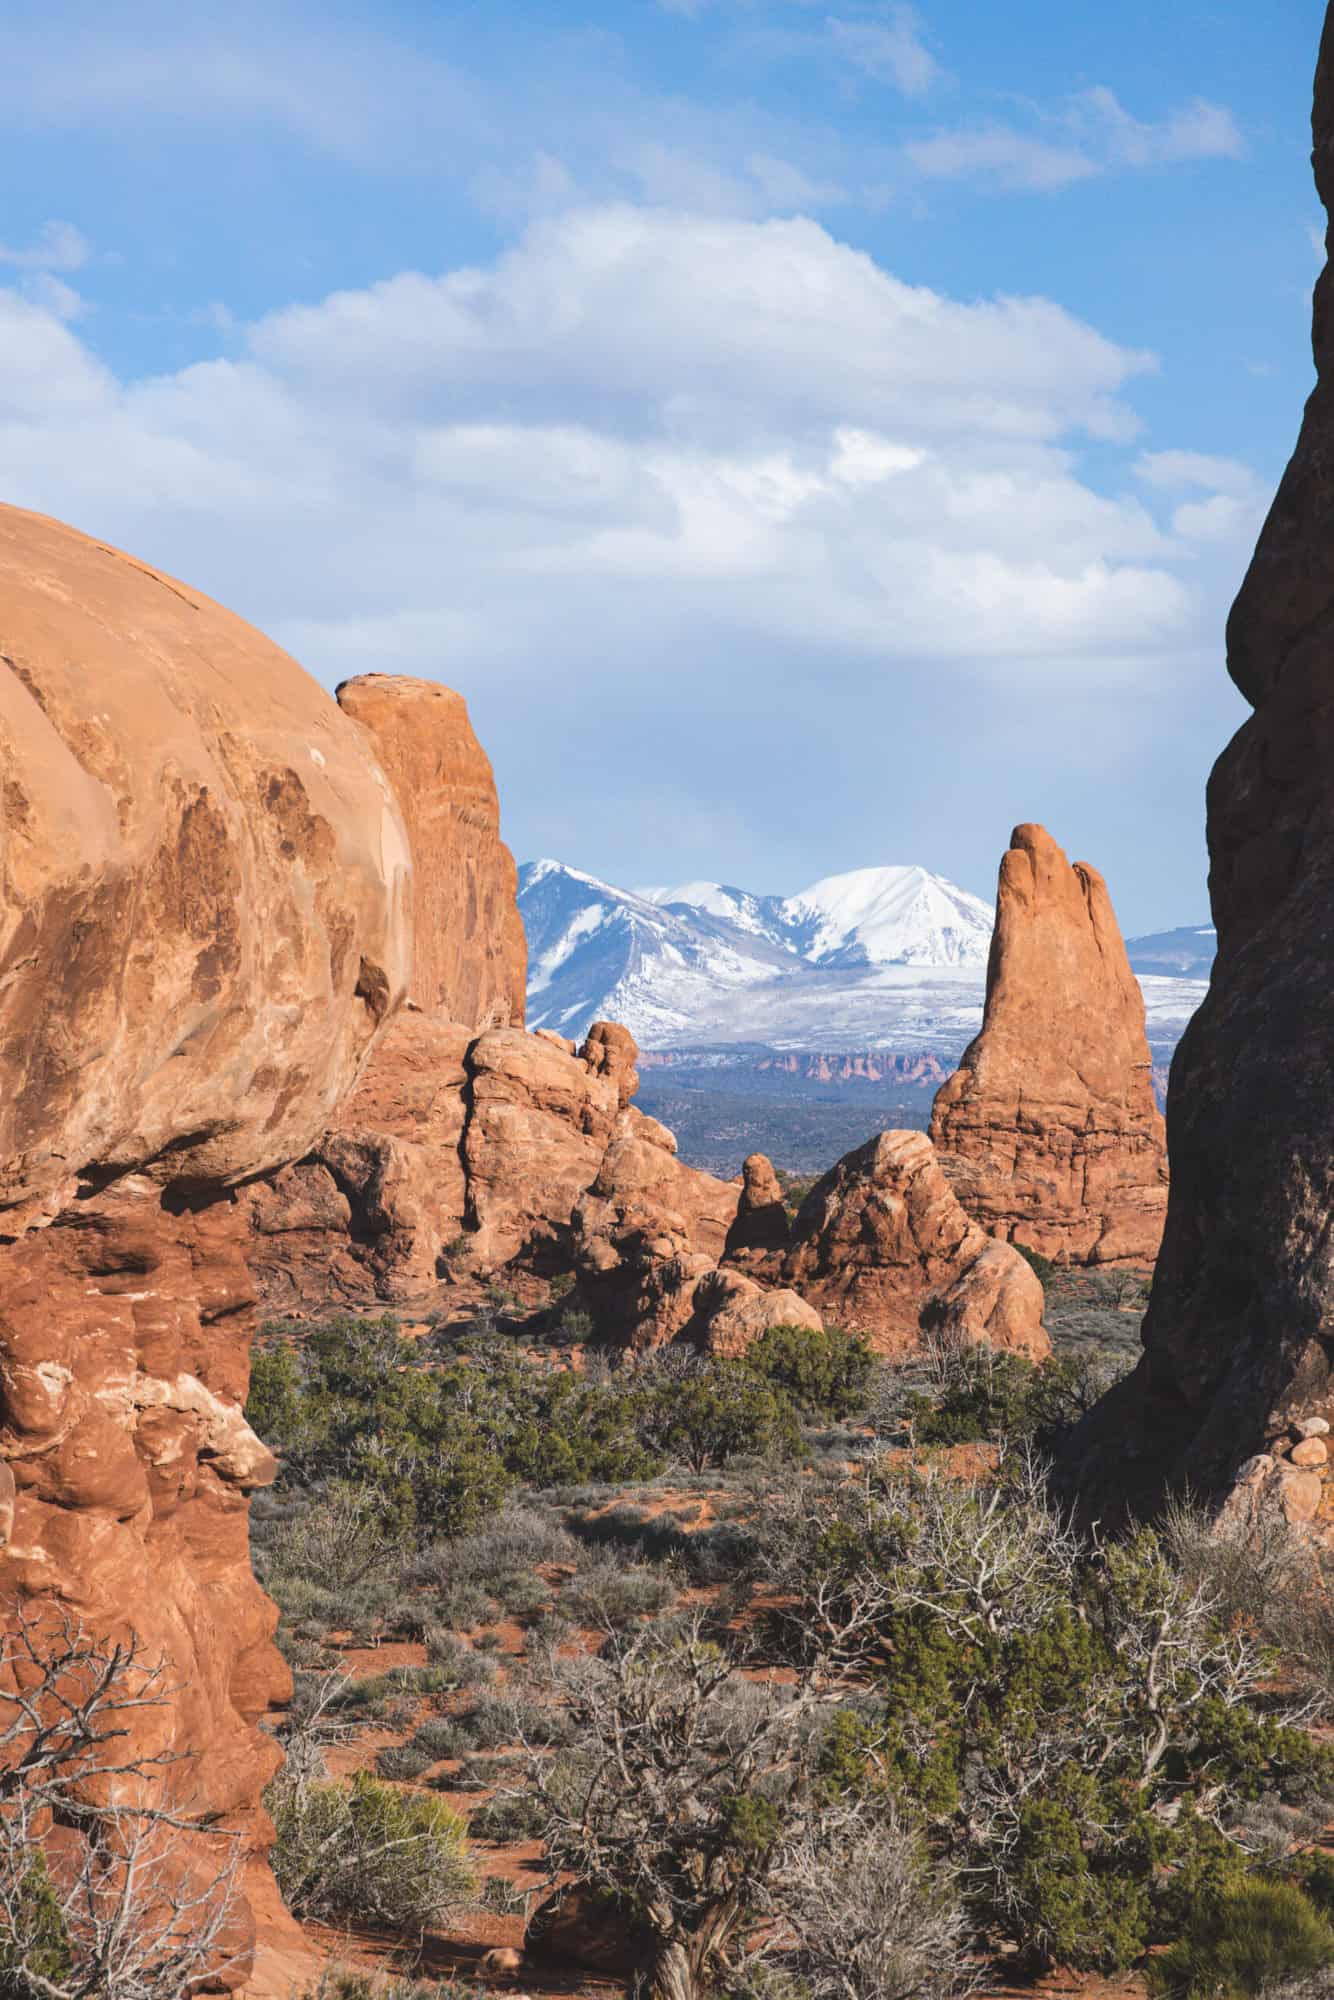
- View of La Sal Mountains near Turret Arch.
Delicate Arch Viewpoint. We of course had to see Delicate arch somehow even though we didn’t hike out to it! The trail to the Upper Viewpoint of Delicate Arch from the parking lot is quite the uphill climb. You might be a bit winded after, but the view is great and there’s a lot of slick rock area you can hike around on to get different angles. The good news is that the hike back to the car is all downhill.

Delicate Arch from Upper Viewpoint. Pretty incredible view!
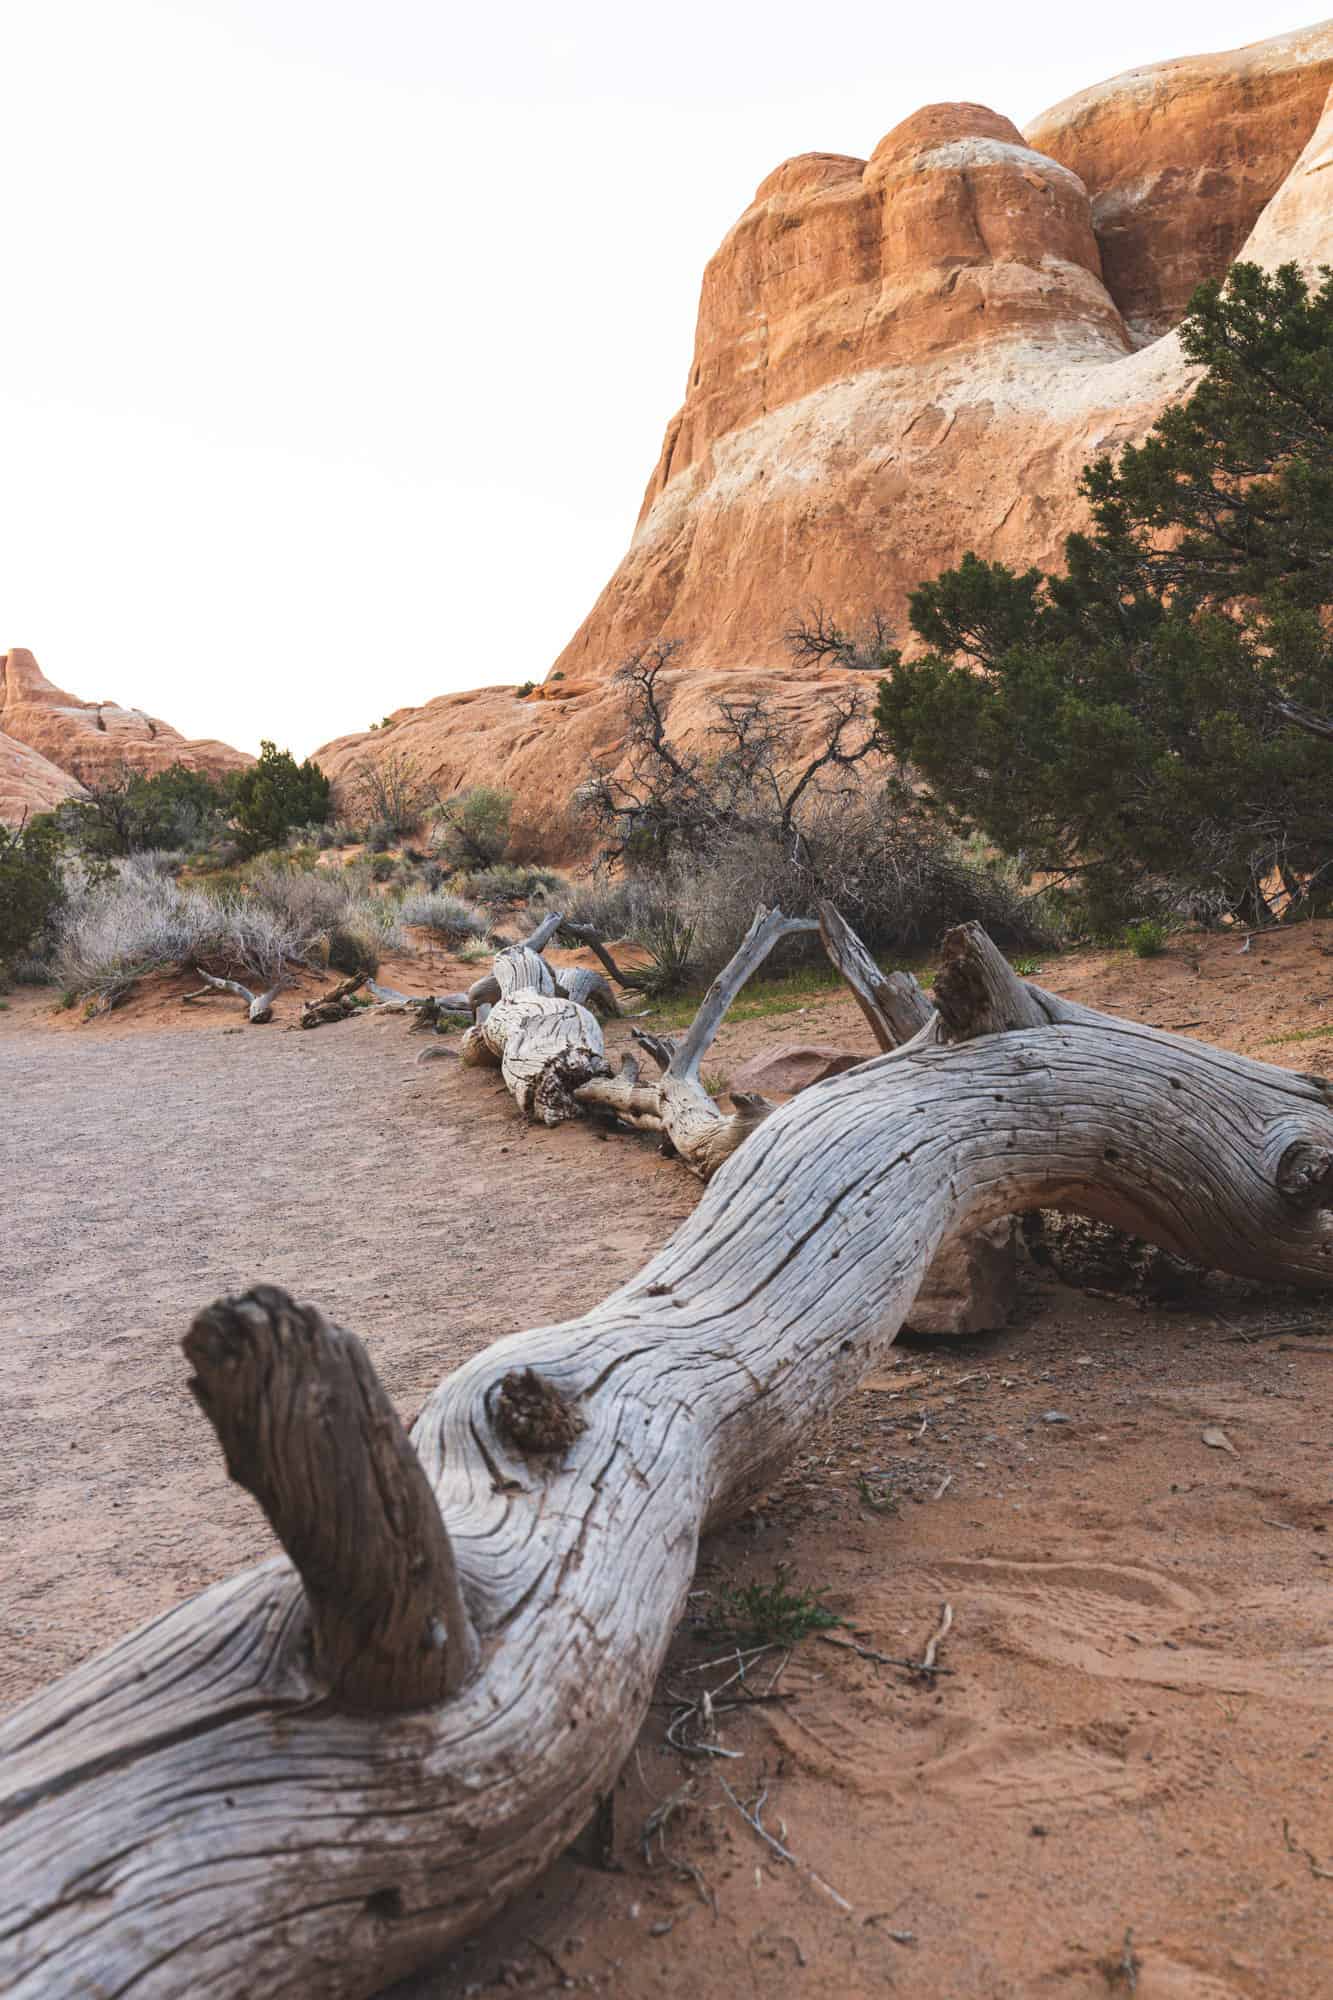
Devil’s Garden. There are multiple ways to experience Devil’s Garden, but we only went to the overlook area. From the parking lot, it is an easy walk, if a little bit longer than some other trails. This one is cool because you get to walk through some red rock walls and feel like you’re in a “canyon” so to speak. This was also one of the spots where we saw the most distinct striations in the rock faces. Looking at Devil’s Garden though is just so different than the other scenery you find in Arches. It’s a really neat spot.
-
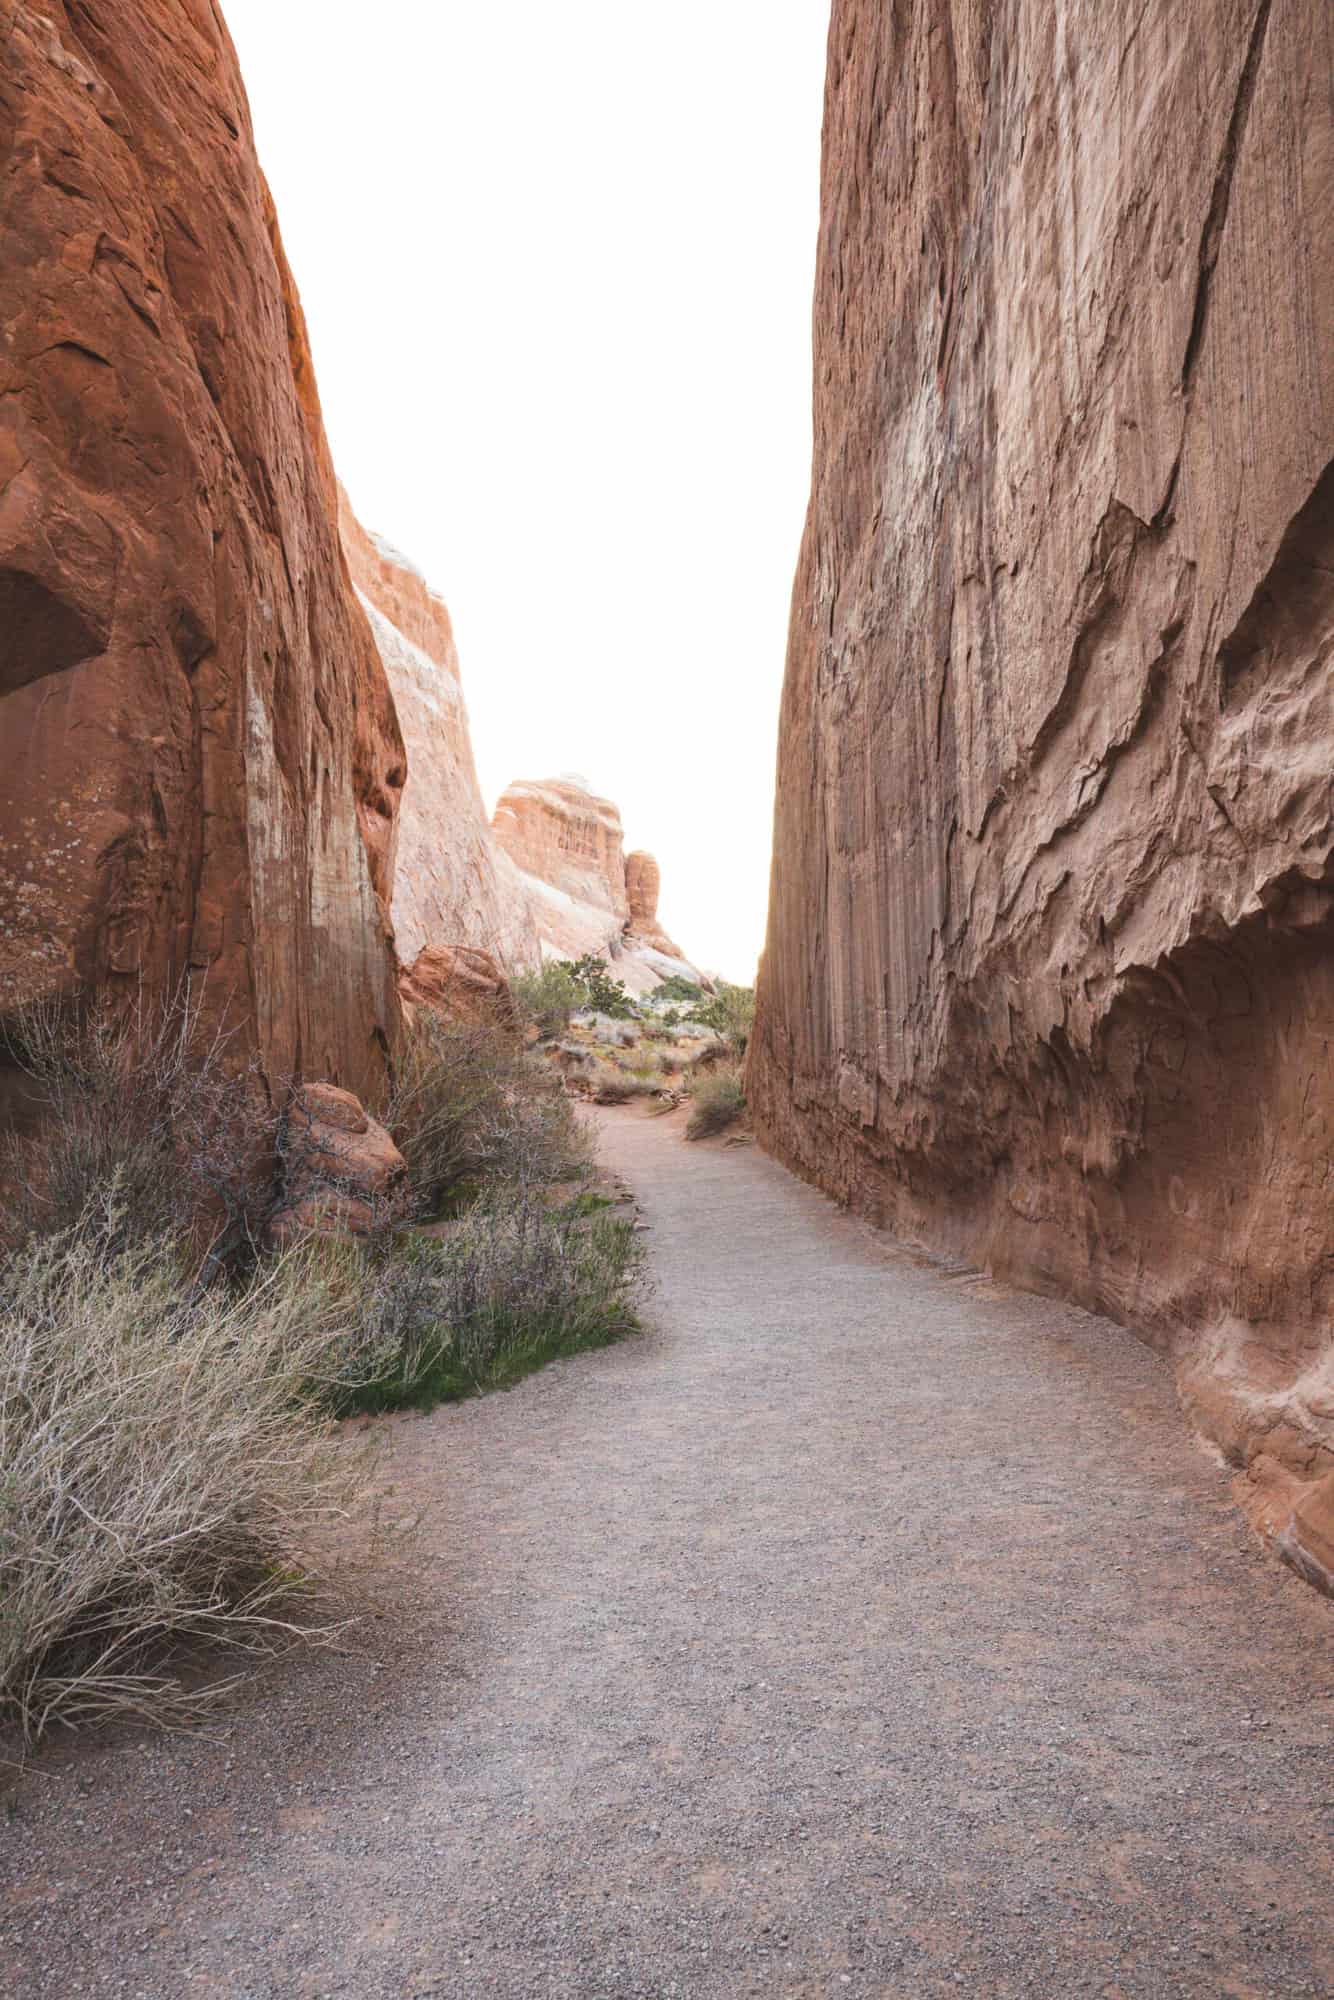
- Hike out to Devil’s Garden Viewpoint.
-
- Felt very much desert/canyon like!

Panorama of Devil’s Garden. AMAZING!
Fiery Furnace Viewpoint. A very easy and accessible trail to see these unique rock formations! The valley is said to become burning red near sunset. We probably drove past it at peak glow, but did get to see the tops all fiery and glowing!

Just another incredible spot. Not quite peak glow, but still so glad we had sun to witness it!
This is just barely scratching the surface of what is available to do in the park. I think it would be amazing to camp here a few days just to explore everything you can! There are a few tips and resources that we found helpful for our experience at Arches.
- Make sure you have enough water! Moab is a desert landscape, so it is very dry! Also wear lots of sunscreen as the atmosphere is thinner there so you’ll burn more easily.
- Take time to just stop and “ooh” and “aah” over whatever you come across! There are dozens of pull off spots on the main road to take in the stunning scenery you’ll see.
- Timing is key. If you’re a photographer like I am, the timing of seeing all the features is key for getting more dynamic photos. I love late afternoon light, but some of the features were so backlit that it was hard to get good detailing if you want that. We also found that going later in the day was great for temperatures and there weren’t as many people around. We also went in mid-spring, so it wasn’t peak vacation season.
- Do some research! The site for Arches National Park has some great info and resources, but I also really liked this article and used it as reference point for making a list of things to see.
- Wear hiking shoes! It’s just so much more comfortable and stable for if you want to climb some of the slick rock under the arches. Plus you don’t have to worry about stubbing toes or getting sand between your toes.
- Follow all rules! They are very particular about where you walk and don’t walk because the soil there is actually ALIVE! It’s full of microbiomes and organisms and that are apart of the desert ecology.
Hope all of this helps with planning your trip to Moab! Be sure to check out a follow up blog about what else we recommend in Moab, Utah! This place has it all, and we barely did anything, but felt like we did so much! Be sure to follow Adventures with RE/MAX to see our latest blogs and videos!
Katy Wolffis is a fellow adventurer, professional photographer, and contributor to the blog. She has written blogs on photography, Ohio hotspots, and about a special trip to Chincoteague. She is also the marketing specialist on the Deering Team with RE/MAX of Grand Rapids.